Ceiling Texture Smoothing Services Overview
Visitors will learn about ceiling texture smoothing services offered by local contractors and how to compare options to find qualified service providers.
- - Residential homeowners seeking to improve ceiling aesthetics through smooth textures.
- - Commercial property managers aiming for uniform, professional ceiling finishes.
- - Contractors looking to connect with local specialists for ceiling texture smoothing projects.
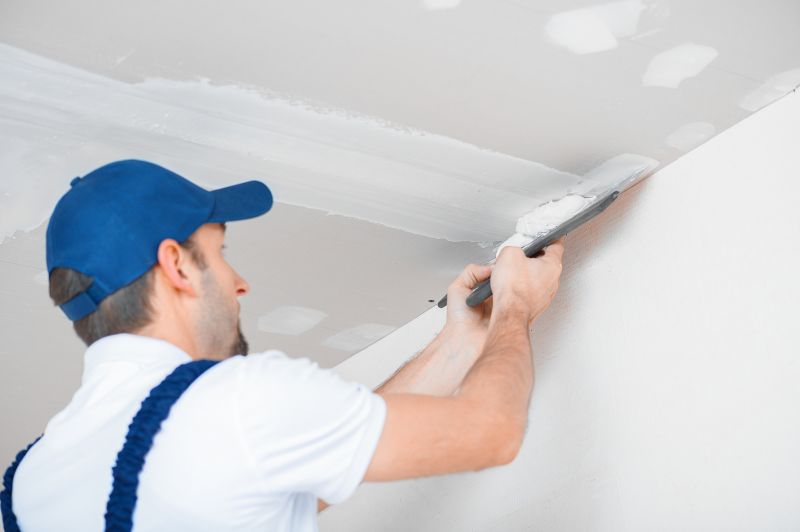
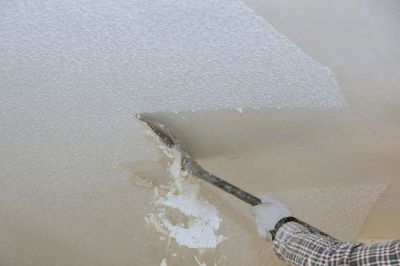
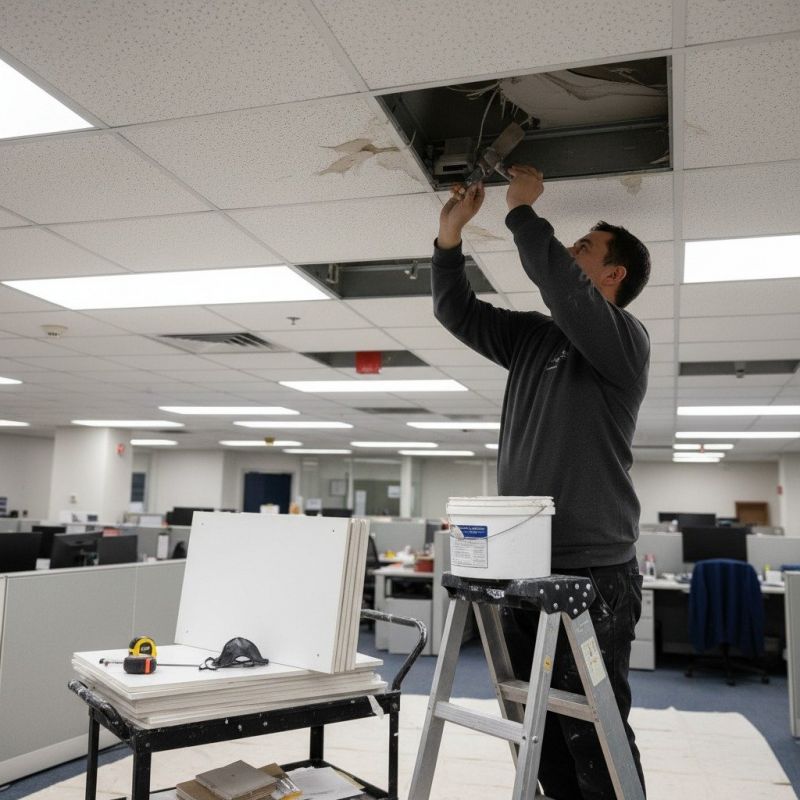
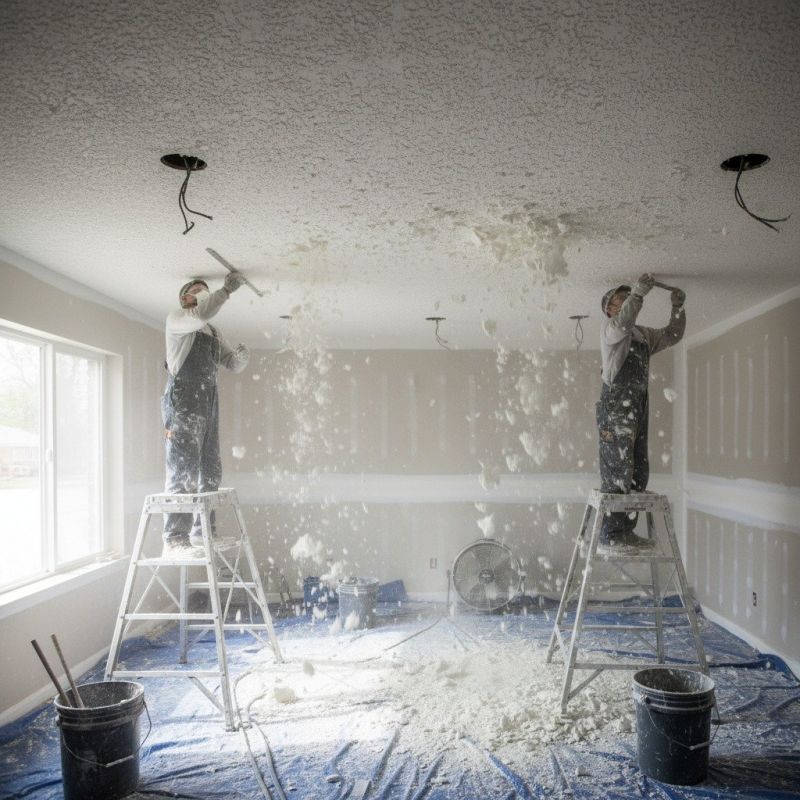
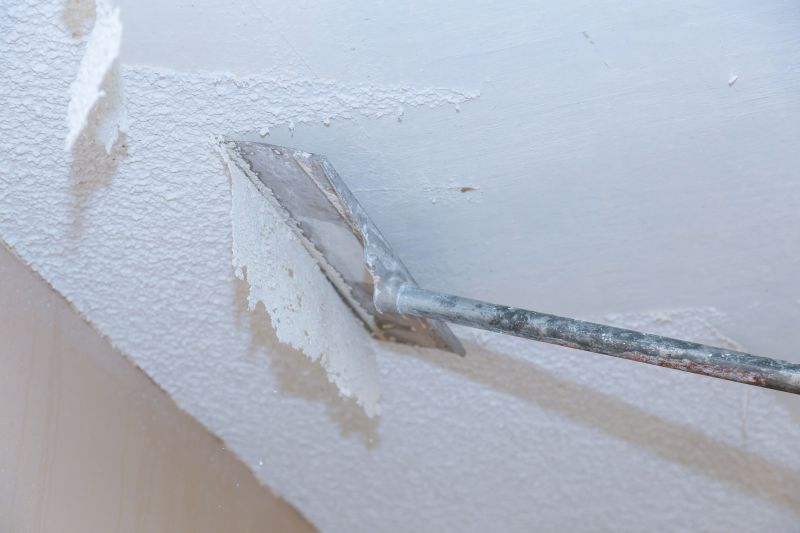
Ceiling texture smoothing services involve transforming existing textured or popcorn ceilings into a sleek, even surface. This process typically includes preparing the ceiling area, removing or covering existing textures, and applying a smooth finish that enhances the appearance of a room. Property owners often seek out local contractors for this work when updating a space, addressing ceiling damage, or aiming for a modern, clean look in their interiors.
Local service providers specializing in ceiling texture smoothing can assess the condition of ceilings and recommend appropriate solutions based on the specific needs of each property. They handle various situations, from removing outdated textures to achieving a uniform, polished ceiling surface. Connecting with experienced local pros ensures that the work is completed efficiently and to the standards expected for a professional finish.
This guide provides helpful information to understand ceiling texture smoothing services and what to consider when planning a project. It assists in comparing local contractors so homeowners can find providers suited to their needs. Additionally, it offers insights to help visitors prepare to discuss their project with local service providers.